Will using AAC delay my child speaking or mean they never speak at all?
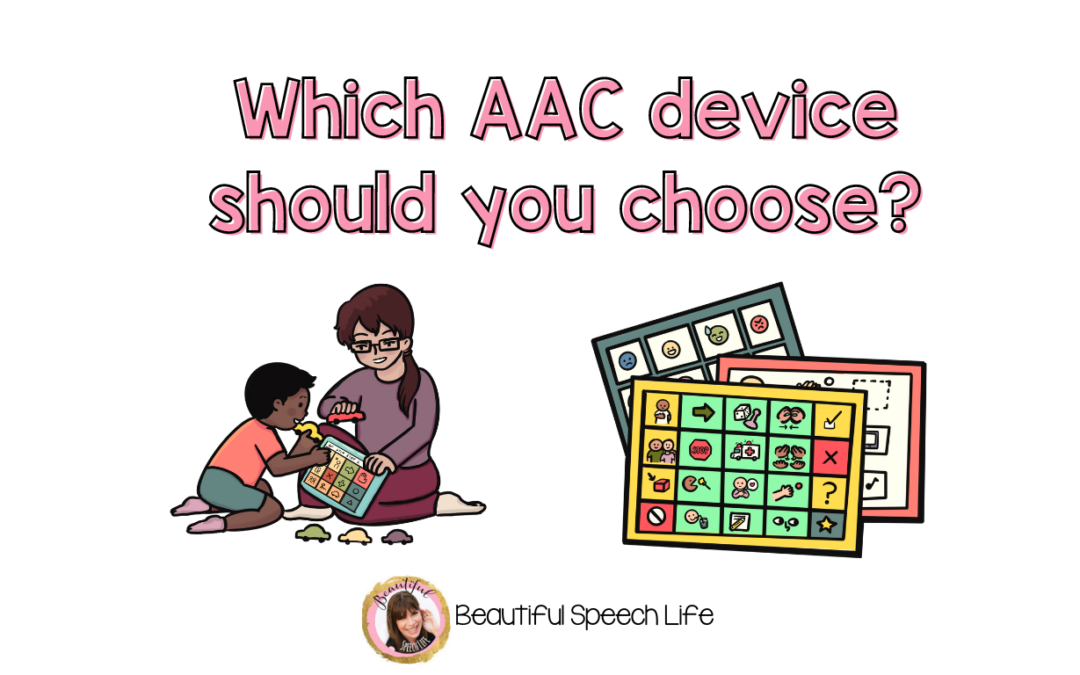
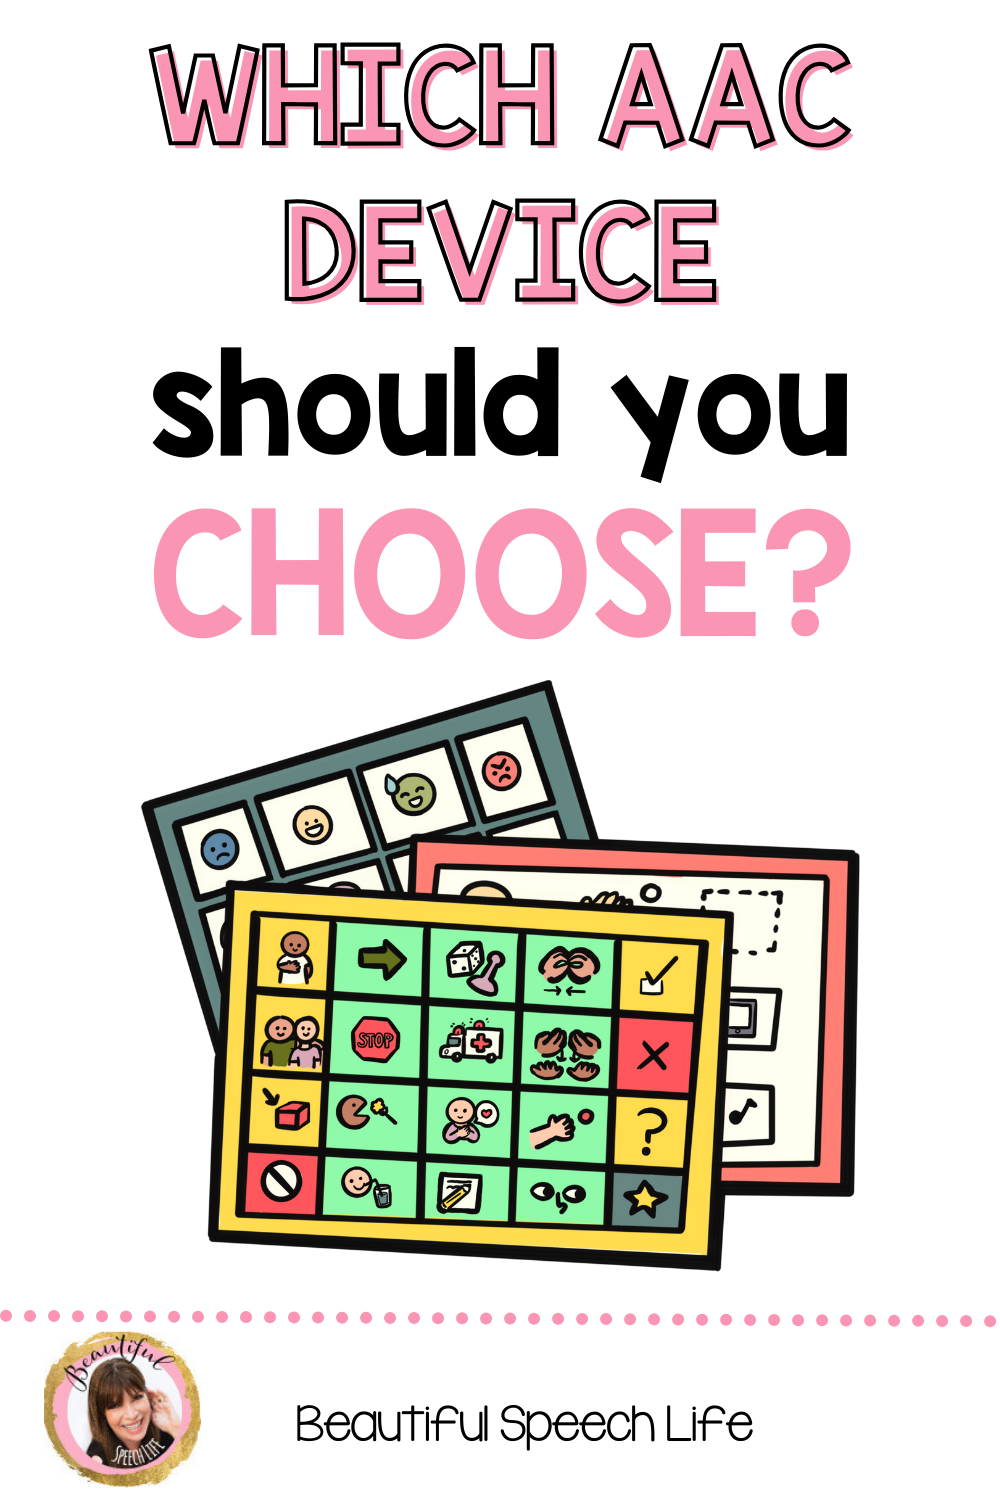
What device should I get?
To answer the first one, that is a definite no! I have witnessed the opposite, where having a communication board gave the student the foundation to build their speech. And kids are speaking more because we’re giving them this visual language – they hear something and connect it with a picture and a pattern. They’re able to have that multimodal communication by touching the device, hearing the device speak and having the communication partner speak. There is evidence to support that early implementation of AAC can help in the development of language and natural speech (Romski et al. 2010)
We want to prioritize communication over speech production.
The next question about what device isn’t so easy to answer. It will depend on the child and their preferences.
No matter which AAC device we choose, I start with core vocabulary.
Physical access
We choose the system that a student can physically access. I work with the physical therapist to make sure that we’ve got the position right. I work with the occupational therapist to talk about things like how far the student can reach or whether they can isolate a finger. From there, we choose our field of core vocabulary words. It’s up to us to model those words as often as we can, in a functional way.
I want to model those core vocabulary words during something that’s of interest to the child. We’ll pick a fun activity and a couple of core words that go with it. If a child is farther along, I would give them a device like an iPad that has TouchChat, a communication app, on it. The app can help make predictions for students based on what they click on and where they want to go.
There are bigger devices that have a keyboard. For assessment purposes, a device like that would help a student who can spell. For other students who might just use a few symbols, I think we have to consider their language ability and their communication ability. And whether the student can answer questions and/or how they answer questions.
Some students have an eye-gaze based device that’s funded through insurance, but it can be difficult to get staff to support that because they’re scared they are going to break it or do something wrong. But those devices are amazing!
Students with Cognitive Visual Impairment (CVI)
You may have students Cortical Visual Impairment (CVI). We show them a core board and all the symbols we show them end up being all mushed together. We’ve learned that it helps to use a black background and make the symbols yellow or red. And then we’ll partner with the student’s vision teacher. With all of the kids, we use core vocabulary as our foundation. When they learn that word in school, that word will mean the same thing everywhere. We choose the power words to focus on for that. And then depending on the student, we customize their high-tech or low-tech boards or switches.
Watch how we created a high/contrast AAC communication board on this Instagram video.
Bilingual Students
If we know that a student is bilingual then we’ll choose an app like LAMP Words For Life, which is English/Spanish – and it’s just one button to press to switch back and forth between the two languages.
English Language Proficiency
For students who convey understanding and communication through an image we may want to work with them on their English language proficiency. With a keyboard, there’s word prediction (if you have it enabled – maybe turn it off for a spelling test) when you start to spell something. The thing to consider about AAC is it’s so slow. Anything we can do to make it faster. That’s what’s so great about word prediction – a student types in a few letters and it will bring up a lot of choices.
There are no hierarchies in AAC
Starting with a low tech printed core board is often an easier way for families to get started with AAC in a low cost way. But if a child isn’t interested in the core board, they don’t need to “pass it” to move onto high tech.
There are no prerequisites to move onto high tech. It’s more important to consider each child’s needs and preferences. If you have access to high tech and the student is showing interest in the high tech device and you have access to it then it would be a great idea to try it.
Next Steps
If you are ready to get started with using AAC then head over here to read my 6 strategies for getting started with AAC.
Looking to find out more about AAC? Learn more about my experiences with AAC in my interview with WIDA.
You know I’m always on the look-out for time-savers and tips to share with you.
Because lets’ face it, we SLPs squeeze a lot into one little work day.
I mean… just the paperwork alone. Data, billing and IEPS are always gonna be there.
But what if I tell you I found a way to take the headache out of present levels, progress monitoring, and daily data?
You can streamline it all with SLP Toolkit.
This web-based app is the brain child of my two friends Sarah and Lisa.
A few years ago, they were both working as school based SLPs right here in Phoenix and thought “there has to be a better way. What if…” And SLP Toolkit was born.
Every successful journey begins with the right set of tools.
SLP Toolkit is a fantastic tool.
Seriously! The whole progress report process is now so smooth and stress free for me compared to my old way of doing things. I love having a goal bank at my fingertips and the present level assessments are so quick and handy.
With their new digital data collection feature, you can easily
Take data
Write notes about what to work on next time
Cut and paste your data from SLP Toolkit into your Medicaid Billing (GENIUS)
And I’m not the only one who loves it. Listen to what others think:
“Never have I found another tool/resource designed specifically for my career/field that is so inclusive of everything under the sun I might need. Typically you find resources where only a small percentage actually relates to the field of speech-language pathology, but this one is exactly for my field. You girls have thought of everything and I cannot thank you enough for putting this tool together! I have other colleagues that wish they had something like this for their discipline and are very jealous! This resource is worth every penny. Thank you, again!” – Kelynne P.
“With the craziness of this year, it is incredibly helpful to have everything in one place. We’ve had school shut down rapidly due to increasing COVID cases, and it is nice to know that I have everything I need in one place and don’t have to lug paper files back and forth to school. It also made scheduling, progress reports, and billing A LOT easier. Thank you!!! ” – Bridget S.
Do you have questions? Then join the AAC Connection Facebook Group. It’s one of my favourite places on the internet for talking everything AAC.
Happy Disclaimer: If you happen to purchase anything I recommend in this or any of mycommunications, it’s likely I’ll receive some kind of affiliate compensation. But you know, I only recommend things that I truly believe in and have personally experienced. If you ever have an issue with anything I recommend, please let me know. My goal is to help you succeed. — Anne
As SLPs we often work with emergent communicators. How we model with them needs to be tailored to their specific needs. Below I share more about what an emergent communicator is and my best tips for using AAC modelling with them.
What is an Emergent Communicator
Emergent communicators can use the following modes of communication:
facial expressions,
body language,
gestures,
vocalizations, and
other non-symbolic modes of communication. For example: smiling, reaching for what they want, taking your hand to what they want. They make wants known indicated by reaching toward something, looking at it, and leg movements.
Introducing AAC to Emergent Communicators
My number one tip for introducing AAC to emergent communicators is to remember beginning communicators talk about what they want to talk about. Make sure what you are modelling is meaningful and hopefully fun to them.
Once you are communicating about something they are interested in, then it’s important to model without expectation. Invite don’t demand that they take part in the activity.
Being prepared as an SLP
As an SLP, it can feel intimidating navigating how to use a device and knowing what to do when using AAC. Particularly if it’s the first time you’ve worked with AAC or a particular device.
If this is you, then quickly get familiar with the device. Most devices are fairly straightforward to use once you’ve used them a few times. I’ve been sharing reviews of devices and apps on Instagram. You can find them in my Instagram feed.
I recommend knowing a few basics and starting with core words like in, put, finished, more, want, like, go. Choose an activity that happens everyday like snack time, circle time, lining up time. That way you’ll get lots of practice every day.
Remembering to keep it fun, simple, consistent and real.
Setting goals is a great way to help you do this. To help you set AAC goals, I’ve created the Ultimate AAC Goal Planning Blueprint which you can download for free here.
Help your students succeed by reducing cognitive load for your students with special needs while they’re learning a new concept.
In this video I am talking about why we need to think about reducing the cognitive load as well as how to do this so we can help our students succeed and feel more confident.
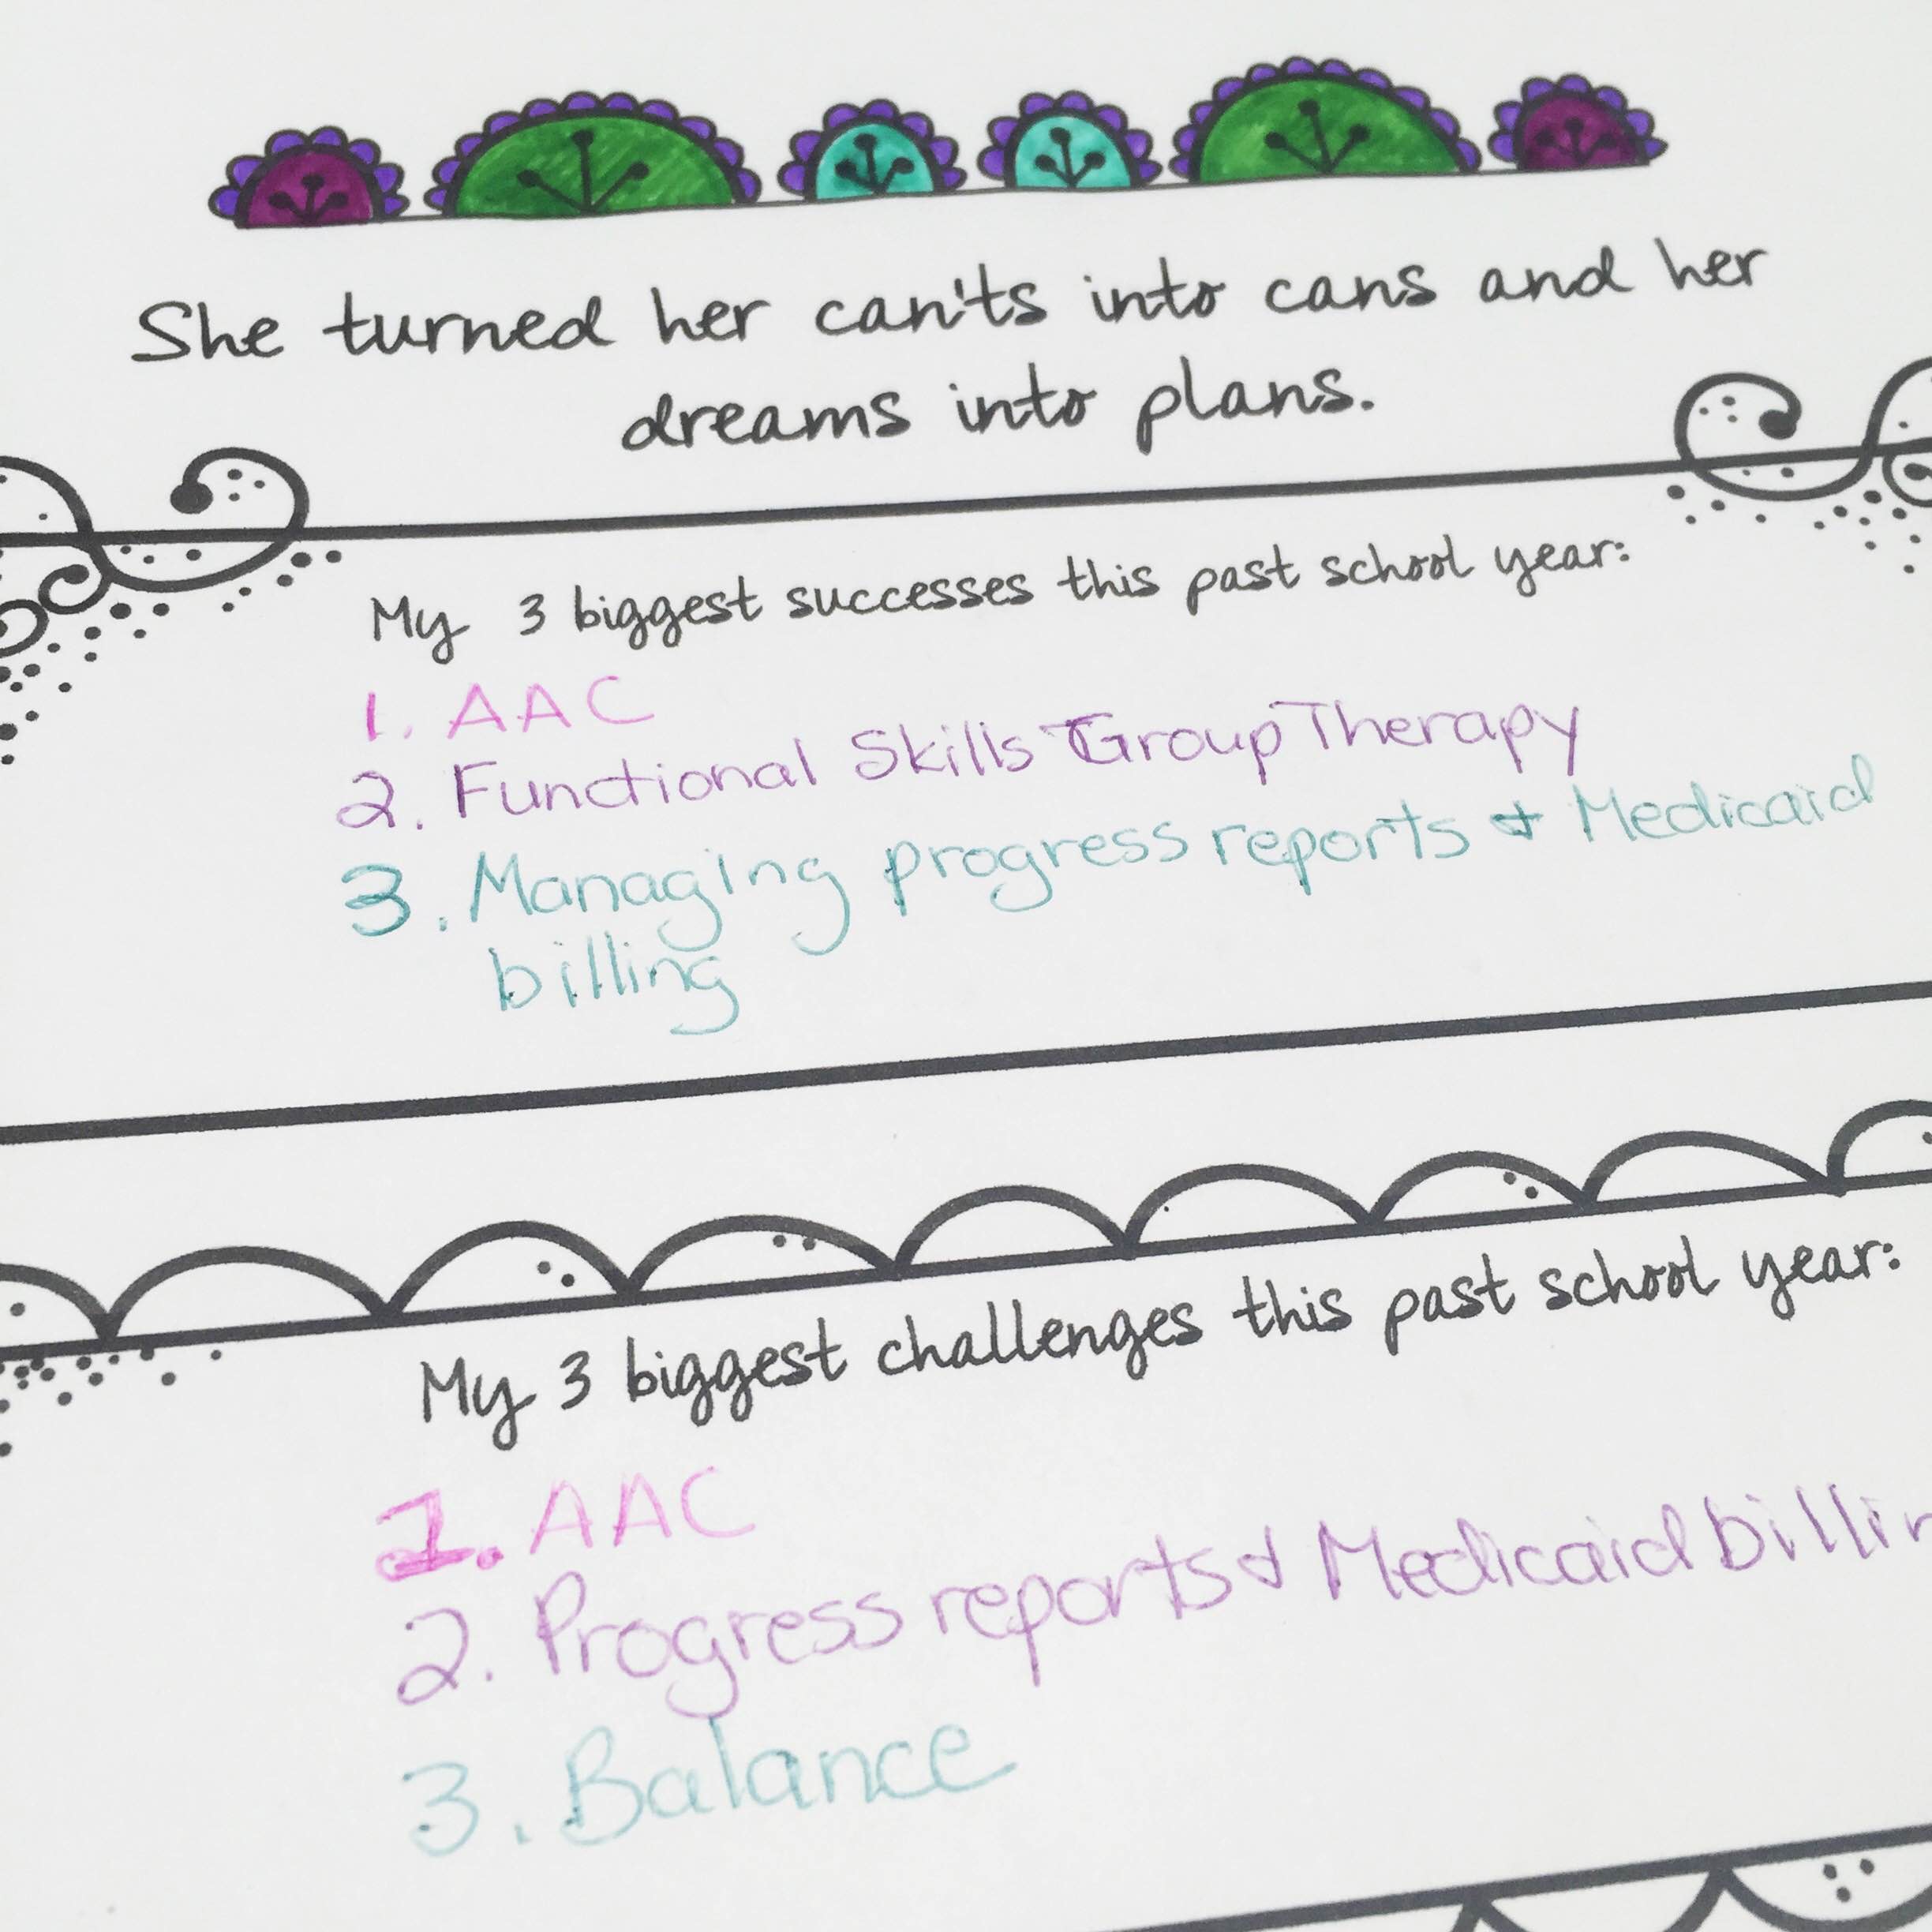
That was a week and a half ago. I was end-of-the-year-marathon tired. But now I’m feeling refreshed and re-energized. I want to look back on the school year while it’s still fresh in my mind.
Year End Review Calendar Page
One thing that was really new for me was being the lead for the newly formed Assistive Technology Team for our district. I learned a lot from that and had to push myself to try some things I really wasn’t sure about. Today, I’m sharing three tips for how to AAC Like a Boss, even when you’re a beginner.
TIP #1 You don’t need to know EVERYTHING at first
I learned very quickly just because I’m the lead, it doesn’t mean I have to know everything. I think I had “Imposter Syndrome” for a little while. Have you heard of that? It’s when you think you’ll be exposed as a fraud because you’re just not good enough. Harsh right? Sometimes I’m my own worst critic.
What I figured out is that I don’t have to know everything there is to know about AAC and assistive technology. I don’t have to have all the answers right away, I just need to be willing to find them. Within the online SLP community there are some amazing resources. Dr. Carole Zangari’s award winning blog Praactical AAC is a gold mine of information. Susan Berkowitz at Kidz Learn Language is really helpful with her blog as well. Both of these SLPs truly AAC-like-a-boss and are so forthcoming in helping their fellow SLPs. Another great resource where you can ask specific questions is the Facebook group AAC for the SLP.
TIP #2 Be Resourceful
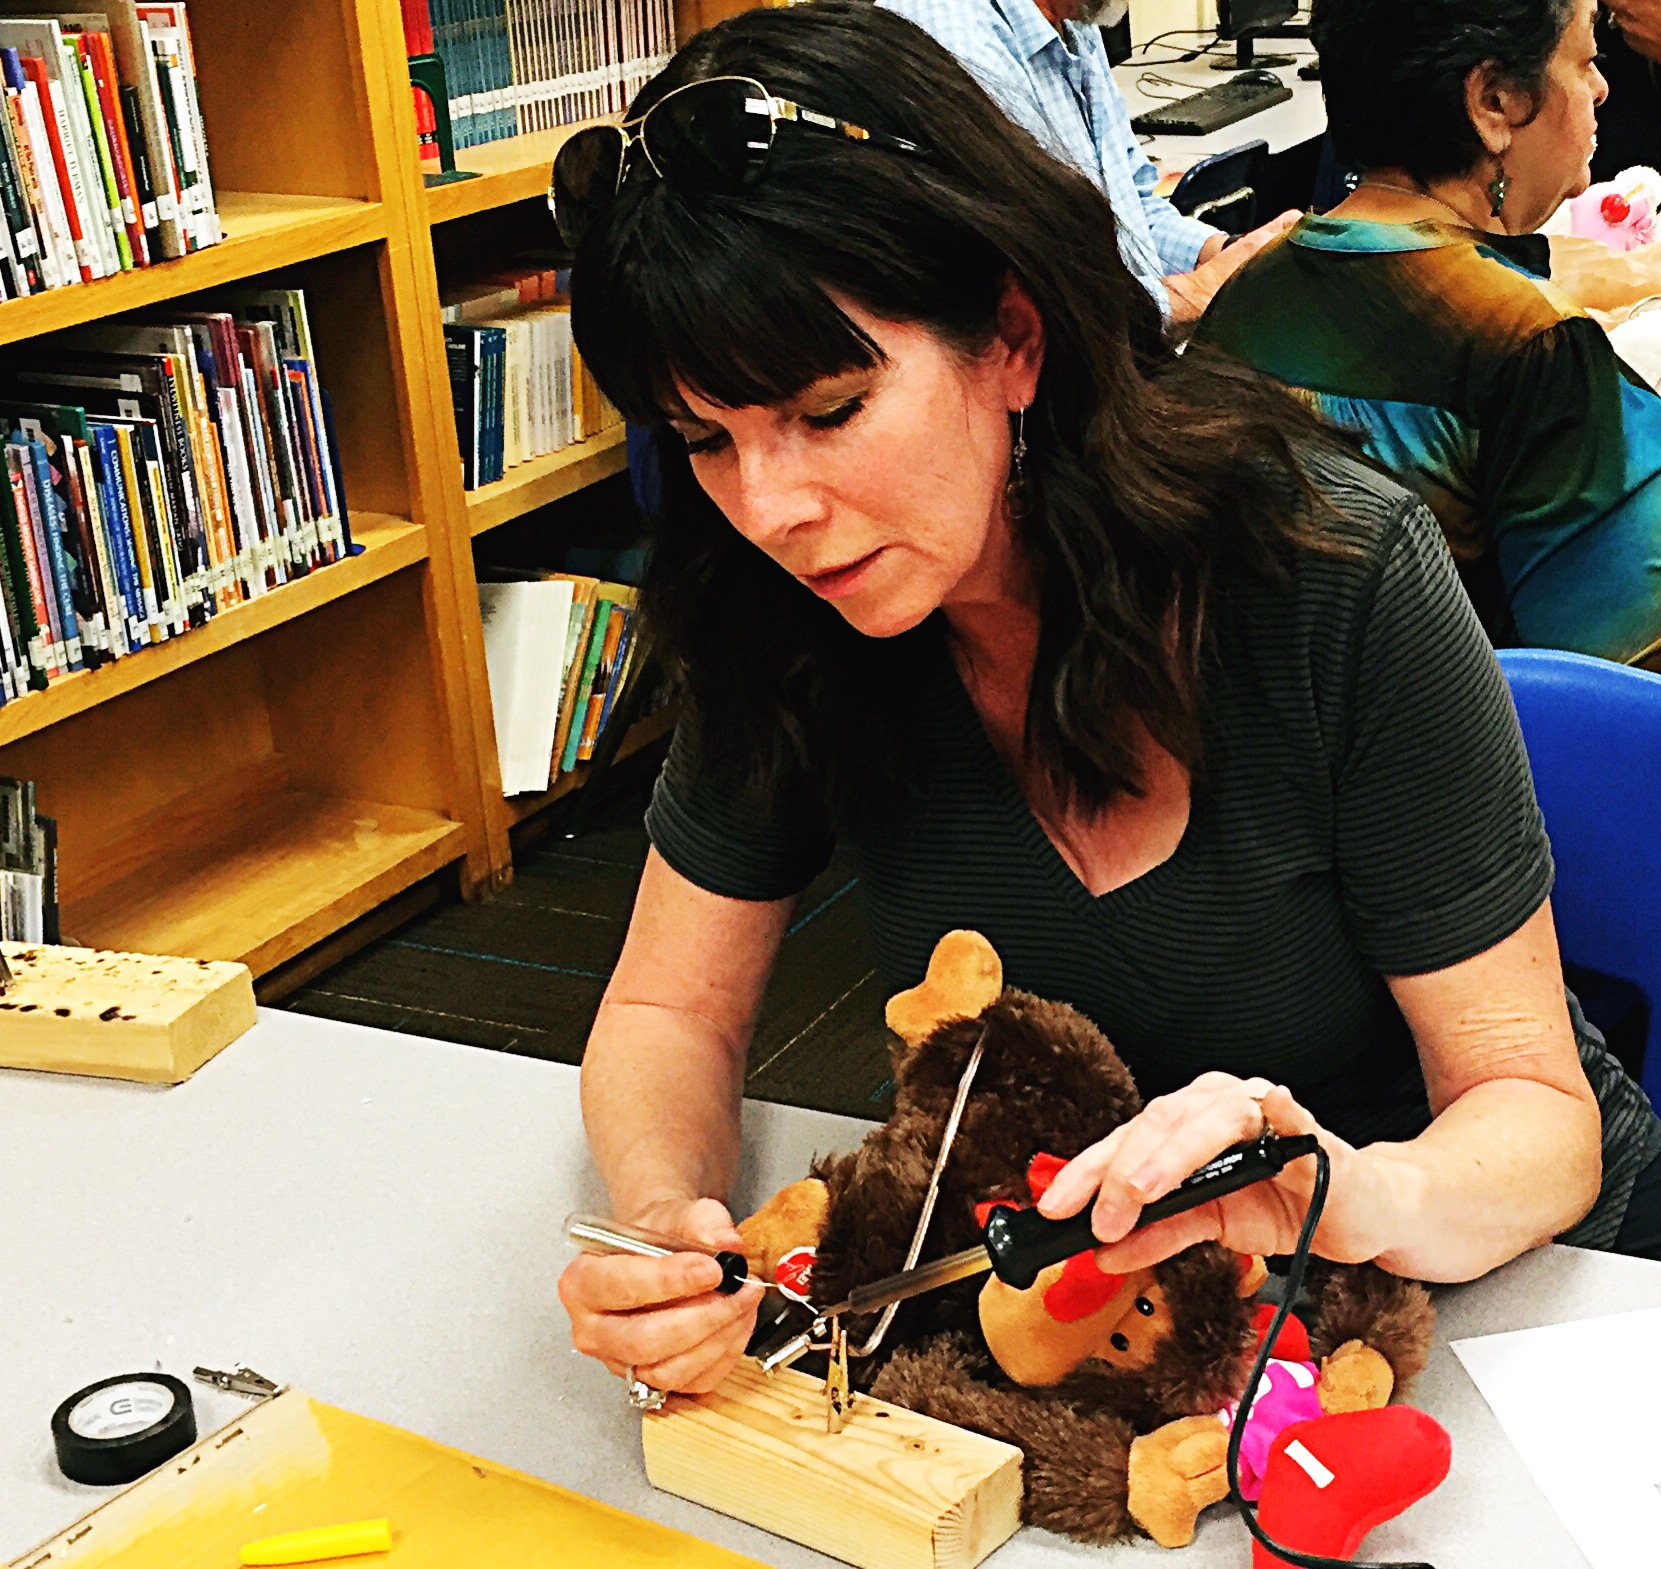
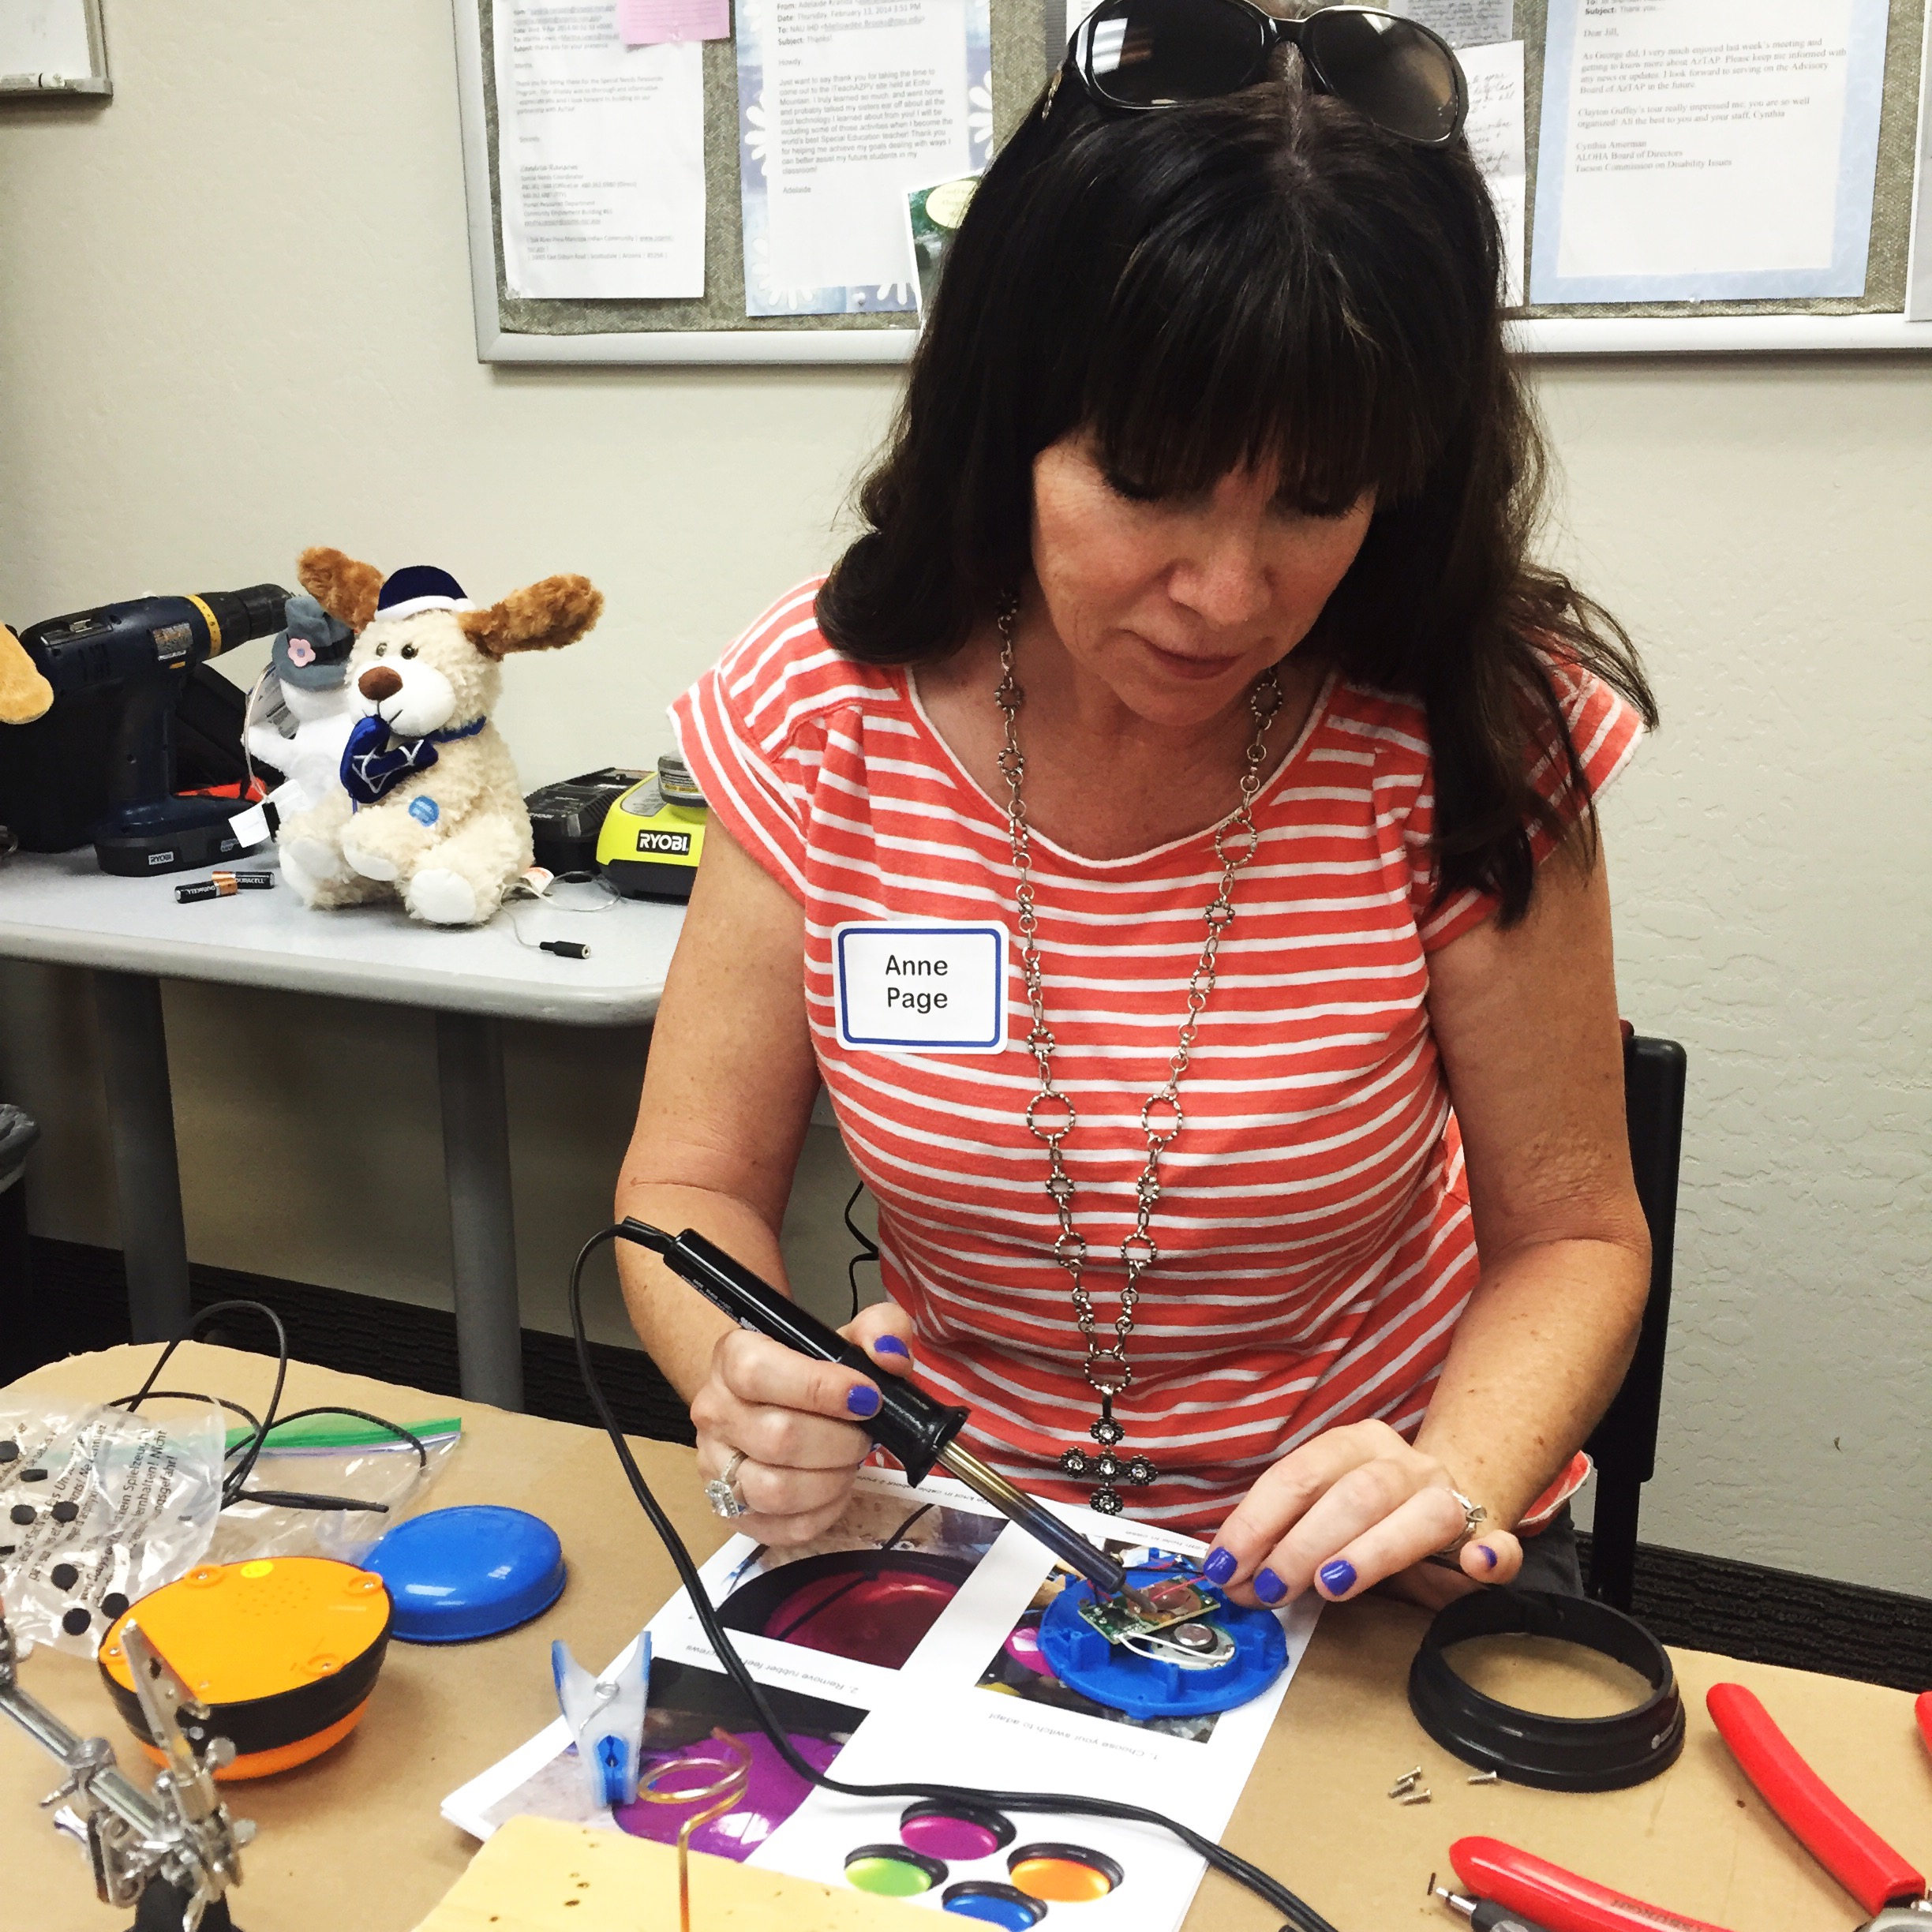
Working at a Title I district with very limited materials, I have to be extremely resourceful. This year I learned how to adapt toys to be switch activated. These are toys that move and/or sing when you squeeze their paw or hand. Some of our students don’t have the fine motor skills to be able to do this. It was really empowering to make such a fun item accessible for them. I even got to solder. The workshop was put on by our wonderful Arizona Technology Access Program. (You can google to see what programs your state might have.)
I was so happy with the dancing monkey I adapted. Until I got to school the next day and realized we didn’t have any switches that fit him. I figured I’d just buy one. But then I saw the price; $50 for one little switch! Back to the drawing board.
Adapted Switch Toy
Sooooo I signed up for a Make Your Own Switch Workshop. There I was able to make two switches for just $10. We adapted answer buzzers ( 4 for $16.00 at Walmart). The time I spent to adapt two switches was about 90 minutes, the first one took the longest.
Adapt a Switch
The bonus was sitting next to two parents of children with autism. They were making the switches for their kids. How cool is that? Talking to them in a casual setting about their experiences and expectations was so enlightening. I really got some insight into what they struggle with.
TIP #3 You Don’t Have to Start High Tech
The other thing I learned, in a really fundamental way, is that assistive technology does not need to be high tech at first. It seems that many parents, teachers and staff immediately think “voice activated device” or “get them an iPad”. AND that this technology will magically and immediately give the student language skills the second they receive it. If only!
Students need to learn to label, request, comment, command and greet. A machine can’t teach them these skills, but we can. A voice generating device may be exactly what they need eventually. But sometimes we can’t get one right away. We can still teach them that using symbols(voice activated or pictures) gives them the power to express what they want, when they want.
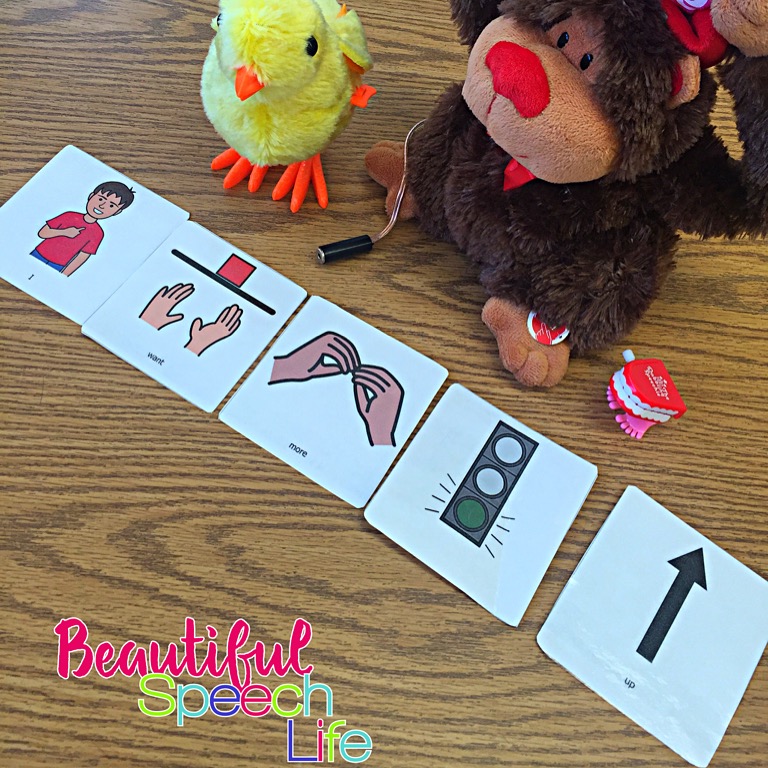
With many of our students, we started with low tech Core Vocabulary Boards and Go Talk Pages. We could get started right away with these because they’re inexpensive to create and so accessible. It was easier to get “buy-in” from support staff because they saw it working.
Core Vocabulary
We used The Dynamic Learning Map Core Vocabulary; a list of 40 words that have been proven to be most effective socially and academically for students with significant cognitive disabilities. Developed at the Center for Literacy and Disability Studies at The University of North Carolina at Chapel Hill, these 40 words are based on AAC research. I’ll provide a link to more information below. Next week, I’ll talk more about core vocabulary boards and how I used them in group therapy with great success!
In summary, you CAN AAC-Like-a-Boss. Just remember these three tips:
1. You don’t need to know everything.
2. You can be resourceful.
3. It doesn’t have to start out high tech.
I know it can seem scary but we SLPs know language. Remember AAC is just another way to facilitate language.
Whether you are reviewing your year or you’ll be working this summer, I hope you found something helpful here. If you would like a FREE Summer SLP Like a Boss planner to help you with your reflection and planning, click here.
If you are interested in a FREE video tutorial on how to make a switch, let me know in the comments below.
Last week in” SLP Time Hacks: Streamlining Progress Reports Dream or Reality?”, I talked about SLP Toolkit, a web based software program that was created by two speech language pathologists. Lisa Kathman and Sarah Bevier. In case you missed it, click here. [spacer height=”20px” id=”2″]
You can use SLP Toolkit to screen, baseline test, progress monitor, and write goals for students. Last week I tested it out specifically for progress monitoring. I have to tell you, I love it![spacer height=”20px” id=”2″]
First I set up my caseload, which was really easy and didn’t take too long at all. Just input student’s name, IEP date, evaluation date, case manager, teacher and grade. A really helpful feature is the ability to sort by any of the fields. For example, I like to write my progress reports by grade level. I can just click on Grade and oila! my caseload is organized by grade level. This makes my list-building organized SLP heart very happy. [spacer height=”20px” id=”2″]
The progress monitoring feature has a speech sound production area which includes articulation (with all sounds) and a phonological process area. Other areas include subheadings of cognitive, social language, expressive receptive language, fluency, and voice/resonance.[spacer height=”20px” id=”2″]
Within each of these areas there is an extensive list to choose from. For example, I have a student that has a goal to compare and contrast grade level vocabulary. Here’s what I did:
Click expressive/receptive language
Click semantics
Click Compare and Contrast
Click Level 2
A screen comes up with a list of 10 word pairs, I ask student to tell me one way the words are alike and one that they are different.
I click thumbs up or flag.
When finished I click “record data” (which resets for the next time)
I am taken back to the progress monitoring screen where the score is shown.[spacer height=”20px” id=”2″]
The screen is user-friendly with a sidebar for the menu and features are easy to click.[spacer height=”20px” id=”2″]
Although I haven’t used the social language feature yet, it looks really interesting and there are many rubrics. What I like is that the rubrics are “clickable”. You click on the area that fits the student’s current level of competence and the score is placed in the bar at the bottom of the screen. Also the correct description is included with the score ready to be copied and pasted into your progress report. [spacer height=”20px” id=”2″]
The progress monitoring tool is leveled (which is awesome). The stimulus items chosen for each of the different levels were selected considering a combination of research, academic standards, grade band Tier 2 vocabulary, and developmental milestones. So important to me to know that all of these items were taken into consideration. The levels are: Level 0-preschool, Level 1-kindergarten, Level 2-grades one and two, Level 3-grades three through five, Level 4-grades six through eight and Level five-grades nine through 12. [spacer height=”20px” id=”2″]
I’m not going to walk you through this step-by-step because SLP Toolkit has several tutorials that do a great job of that. I’ll put a link at the end of this post for you.[spacer height=”20px” id=”2″]
I do want to highlight what I like most about using SLP Toolkit for my progress reports.[spacer height=”20px” id=”2″]
1. It’s really easy. No shuffling papers and digging for data sheets. Everything I need is on my computer screen. (And it syncs across devices, so I can use my iPad too).[spacer height=”20px” id=”2″]
2. It’s user-friendly and easy to navigate.[spacer height=”20px” id=”2″]
3. I’m using new materials that the student isn’t used to, so I can see if the skill is carrying over across different materials and situations.[spacer height=”20px” id=”2″]
4. I like that I can click on the student’s name, see the goals at a glance, select the progress monitoring tool I want and then go. It’s very time efficient. Depending on the number of goals a student has, the whole process is quick. I’d say 15-20 minutes per student.[spacer height=”20px” id=”2″]
5. As I said earlier, I am really happy with the fact that it is leveled and that the leveling is based on research and standards.[spacer height=”20px” id=”2″]
6. It’s affordable. $19 a month (or $180 annually) to not only keep myself organized and efficiently monitor progress but to write goals, keep a goal bank and baseline test is a bargain.[spacer height=”20px” id=”2″]
7. When it is time to do the next round of progress reports, I will be able to compare them side by side with the progress monitoring I just completed to view progress across time. I love that feature.[spacer height=”20px” id=”2″]
The whole process was so smooth and stress free for me compared to my old way of doing things. I really am kind of looking forward to doing my progress reports next time, so I can compare them to the ones I just did. I’m also looking forward to having a goal bank at my fingertips and to using the present level assessments.[spacer height=”20px” id=”2″]
My recommendation to you is to check it out. Click on this link where you can get a free trial for up to five students. Do a little test drive, look at all the awesome features. I really think you will be as impressed as I am. [spacer height=”20px” id=”2″]
Disclaimer: I did receive a no-cost six month subscription of SLP Toolkit, so I could review it and give feedback. All of the opinions expressed are strictly my own.[spacer height=”20px” id=”2″]
Did you like this post? If you did please let me know in the comments below. Make sure to join my email list for more posts like this and for a monthly free therapy product.[spacer height=”20px” id=”2″]
No more dreading progress reports!
P.S. Here is a link to the progress monitoring tutorial.


 Hey there I’m Anne Page. I help heart centered SLPs and educators put the fun in functional communication.